How To Build My Own Website (1) - Next.js
Contents
- The choice of Next.js
- Parse and Display Markdown
- Style my website
- Image Optimization
I had always dreamed of building my own website, to express myself, to keep memory of what I have done, and to make others know me faster. Although I had self-learned web developing technologies, e.g. html/css, javascript, react, redux, jquery, etc, for a long time, there wasn't a golden chance to start this "huge" thing, regarding to the styling, routing, deploying and so on… All beginnings are hard😄
I used Jekyll for my Blog. It's like this:
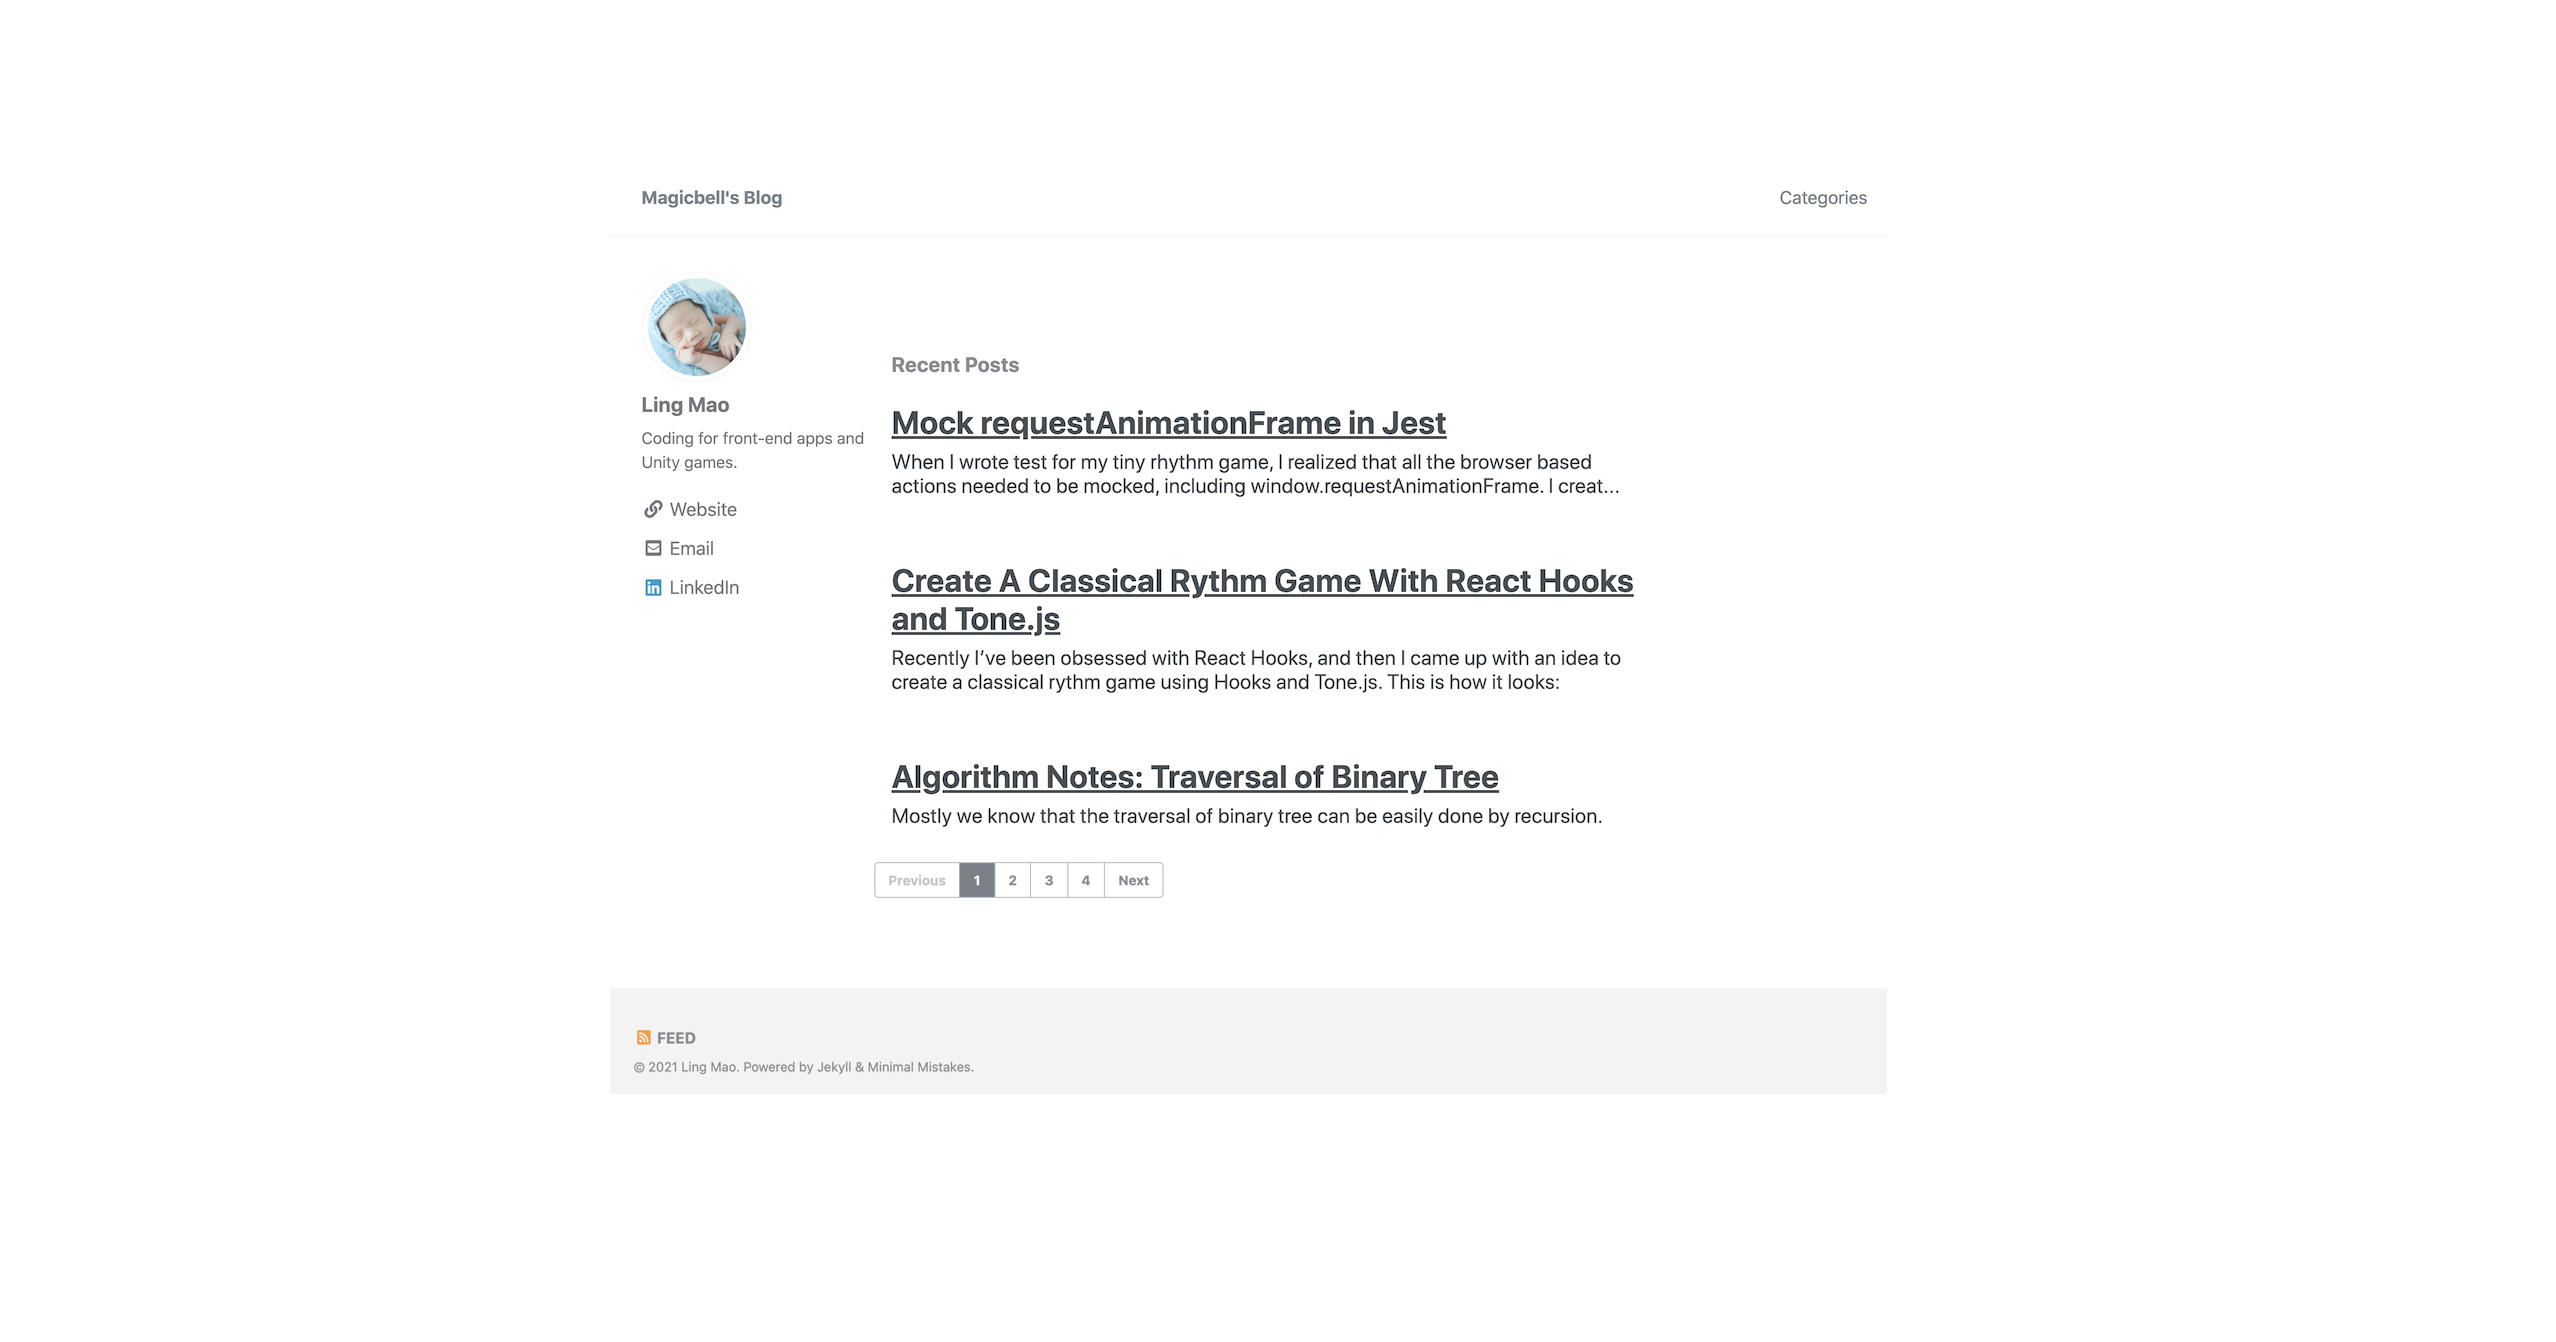
But I am not satisfied with it. To customize the page, I need to give a HTML file, which is inconvenient.
Recently I met with Next.js. It is a React framework, which means I can write React Components✌️. After walking through its starter tutorial, which is to create a very simple blog app, I found it is the perfect framework that helps me to start my website building.
This article mainly talks about some basic features making it perfect for my website building. Next two articles: 1, 2 will illustrate how I deal with Markdown and Style.
In this article, firstly I will talk about some basic features making it perfect for my website building. Then I will illustrate how I deploy it to Github Pages.
Page-based Routing System
In Next.js, a page is a React Component placed under /pages directory. This hierarchy makes it clear to separate the page components with those feature components.
However, what the most powerful is that it supports dynamic routes. So:
a page defined as
/pages/posts/[slug].jscan power all my blog post pages, like/posts/2021-3-10-build-my-website-nextjs,/posts/2021-2-19-mock-requestanimationframe-in-jest, etc.a page defined as
/pages/blog/[[...page]].jscan power not only/blog/*, but also/blogand/blog/*/*. So my paginated blog pages can be/blog/blog/page/2,/blog/page/3,.../blog/front-end,blog/unity/blog/front-end/2,blog/unity/2,...
Innext.config.js, I can define/blog/page/1redirecting to/blog,/blog/front-end/1redirectingblog/front-end. This is common web flavored.The
redirectsin next.config.js only works in Node.js environment, and do not affect client-side routing, see this. My website is statically exported, so when it is published on Github Pages, theredirectsfails. Also I triedrewrites, but the result is not what I want, and it also fails to refresh by browser.in React Component, I can obtain the route data by
queryobject, which is accessed by theuseRouterhook innext/router. So for the above multi-format routes, I can distinguish them by:// "/blog" query: { "page": false } query: { "page": null } query: { "page": [] } query: { "page": undefined } // "/blog/page/2", "/blog/page/3" ... query: { "page": [ 'page', '2'] } query: { "page": [ 'page', '3'] } // "/blog/front-end", "/blog/unity" query: { "page": [ 'front-end' ] } query: { "page": [ 'unity' ] } // "/blog/front-end/2", "/blog/unity/2" query: { "page": [ 'front-end', '2' ] } query: { "page": [ 'unity', '2' ] }
Pre-rendering
Next.js generates HTML for each page in advance. There are two forms: Static Generation and Server-side Rendering.
The difference is in when it generates the HTML for a page.
Static Generation (Recommended): The HTML is generated at build time and will be reused on each request.
Server-side Rendering: The HTML is generated on each request.
Commonly a personal website is static, which is generated at build time.
Data Fetching
Next.js also provides two ways to fetch external data for pre-rendering, with which I can generate blog pages by reading the local markdown files.
getStaticPathsto specify which paths to pre-render. For example, in/pages/posts/[slug].js, the below code includes paths for all post pages.export async function getStaticPaths() { const posts = getAllPosts(['slug']) return { paths: posts.map((post) => { return { params: { slug: post.slug, }, } }), fallback: false, } }getStaticPropsto pass external data to thepropsof the page's React Component. For example, in/pages/posts/[slug].js, the below code passes thepostdata to thePostcomponent for rendering.function Post({ post }) { //render the post } export async function getStaticProps({ params }) { let post = getPostBySlug(params.slug); return { props: { post, } } }The parameter
paramsis from theparamsin the returned object ofgetStaticPaths.
Fast Refresh
Next.js enables Fast Refresh to allow me to glance at what I have just done. Think about this scenario:
I am writing this blog, and I want to see what it is like when it deploys.
ps. Jekyll enables fast refresh, too.
It's React!
There is no need to illustrate how React makes it easier to develop web pages here. I just want to say it is at the top of my list.
Deploy To Github Pages
Next.js app is recommended to deploy on Vercel, because it is an all-in-one platform developed by the same team. However, in spite of Vercel, I also want to deploy it on Github Pages, where my old Blog is, until I have my own domain.
The following steps show how I did to deploy to gh pages:
Create a github repository, named with
[github-user-name].github.io. If you don't follow this template, the pages will be under a subpath, e.g..[github-user-name].github.io/[custom-github-repository-name], which may bring inconvenience in path.Set the remote origin to github repository.
Do some customized configuration in
next.config.js, like adding environment variables, plugins, etc.Add scripts in
package.json:
   {
       "scripts": {
       "deploy": "rm -rf node_modules/.cache && rimraf out && next build && next export && touch out/.nojekyll && gh-pages -d out -t true"
     },
}- Run
npm run deploy- Change github repository Settings. Navigate to GitHub Pages, set the Source to be branch "gh-pages", directory /(root), and click Save.
Why Not Use Existing Website Builder
1. It is Pricey!
Although some popular website builders, like Wix and WordPress, provide free services to create websites, the services are limited, unless you purchase for the Premium Plans. This is always what happens😅.
2. I am Not Advertising.
In my plans for the website, there is no intension for any advertisement. So it doesn't need to be fancy. In fact, I prefer it to be simple but tech-favored.
3. It is Not Under My Control.
There are indeed many templates on those website builders, which save us plenty of time to design and development websites. But they are just as what they are. I'd like to do what ever I want on my own website. It should be limitless😉.