Create A Classical Rythm Game With React Hooks and Tone.js
Recently I've been obsessed with React Hooks, and then I came up with an idea to create a classical rythm game using Hooks and Tone.js. This is how it looks:
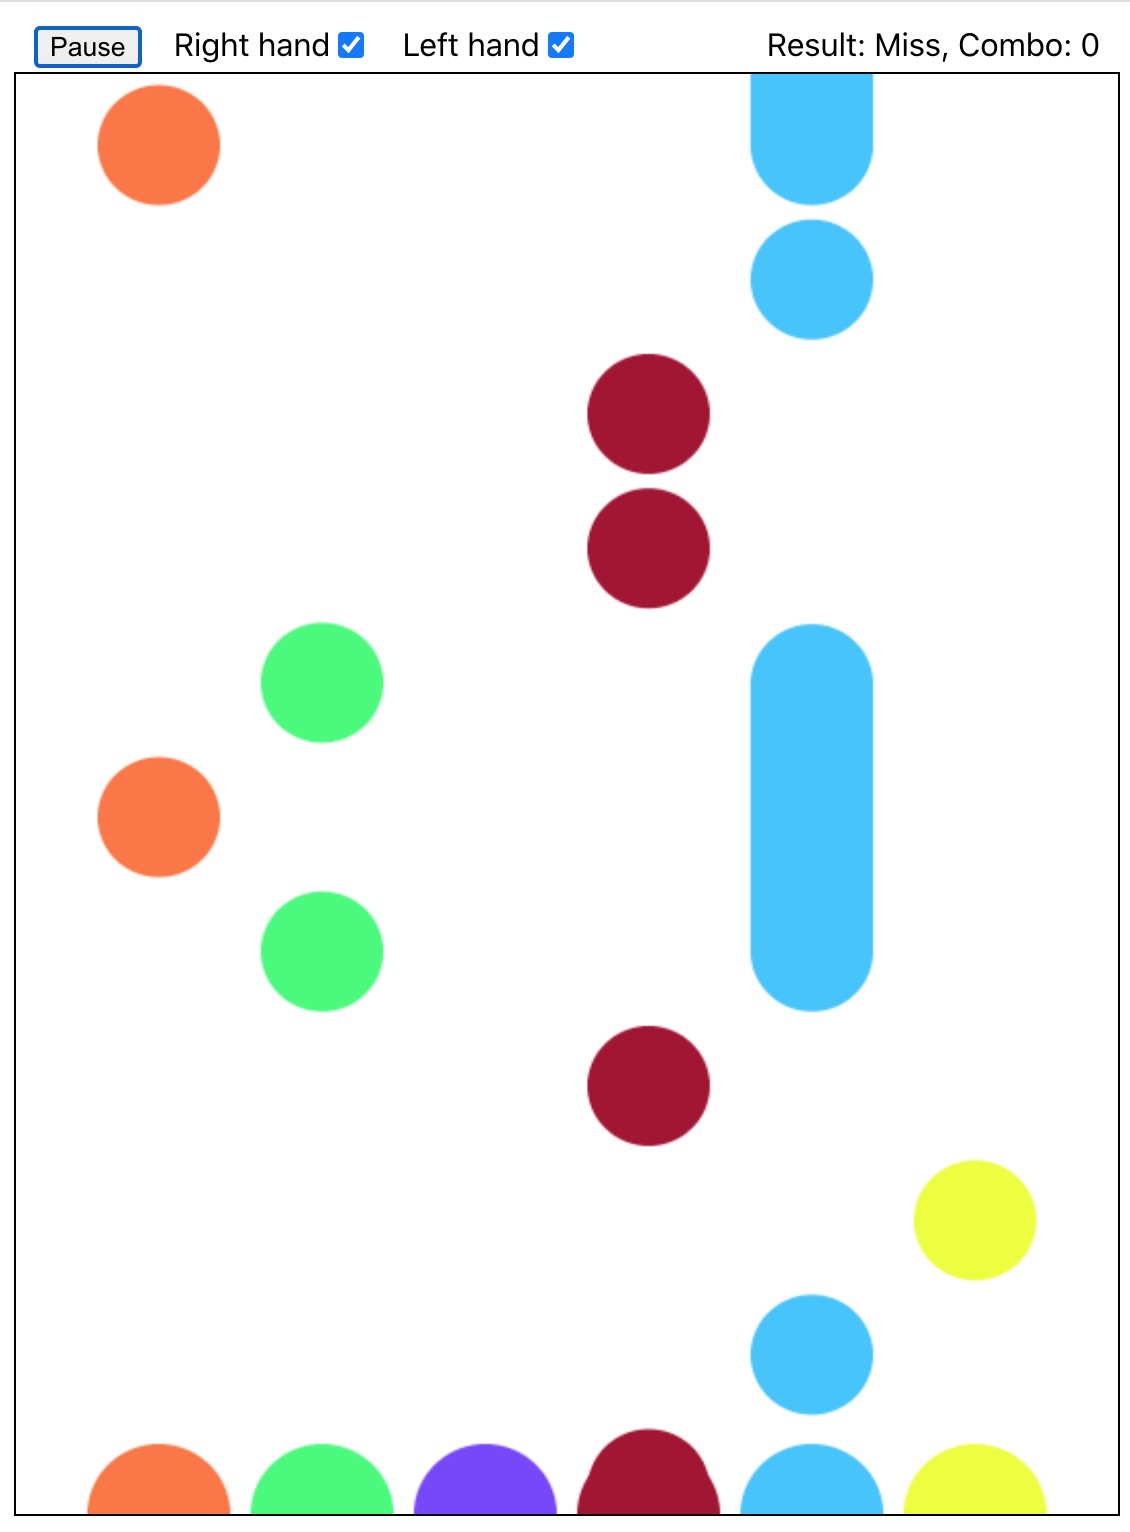
Alongside the playing music, drops fall down and we hit the bottom circles to keep up with the rythm. There are several features:
- 3 hit results according to the timing: Perfect, Good, and Miss. The combo count is recorded.
- Left hand buttons(from left to right): a, s, d. Right hand buttons(from left to right): j, k, l. We can choose to open left, right, or both hand tracks.
- The music can be played, paused, resumed and stopped.
Below I will illustrate how I created this tiny game using React Hooks and Tone.js.
React Hooks
Why using Hooks?
Hooks make it easier to reuse behaviors. We can make custom hooks to share stateful logic between components. In this project, I created a Canvas hook, which accepts draw function and manages the render loop. In addition, hooks make codes prettier and easier to maintain, compared to those components that started simple but grew into an umanagable mess of stateful logic and side effects. I replaced these classes with functions as much as possible, and it turned out to be really enjoyable.
Canvas Hook
The Canvas hook is mainly in charge of rendering game objects. It takes in the draw function as the only parameter, and uses canvas context to render every frame by requestAnimationFrame. Inside it, we use the Effect hook to register/unregister the requestAnimationFrame, only when the draw function changes(Effect hook re-render dependency).
export default function useCanvas(draw) {
    const canvasRef = useRef(null);
    const loopId = useRef();
    const previousTime = useRef();

    useEffect(() => {
        const canvas = canvasRef.current;
        const context = canvas.getContext('2d');

        const loop = time => {
            if (previousTime.current) {
                context.clearRect(0, 0, canvas.width, canvas.height);
                draw(context, 0.001 * (time - previousTime.current));
            }
            previousTime.current = time;
            loopId.current = requestAnimationFrame(loop);
        }

        loopId.current = requestAnimationFrame(loop);
        return () => cancelAnimationFrame(loopId.current);
    }, [draw]);

    return canvasRef;
}
The usage of Canvas Hook is like this, building a customized Canvas component.
export default function Canvas(props) {
    const { draw, ...restProps } = props;
    const canvasRef = useCanvas(draw);

    return (
        <canvas ref={canvasRef} {...restProps} />
    )
}
GameLoop Hook
Similarly, we can use hooks to create a game loop hook, which updates the game logic every frame.
export function useFrameLoop(callback) {
    const loopId = useRef();
    const previousTime = useRef();

    const loop = time => {
        if (previousTime.current) {
            callback(0.001 * (time - previousTime.current));
        }

        previousTime.current = time;
        loopId.current = requestAnimationFrame(loop);
    }

    useEffect(() => {
        loopId.current = requestAnimationFrame(loop);
        return () => cancelAnimationFrame(loopId.current);
    }, []);
}
I only used the Canvas Hook, because they both use requestAnimationFrame to update frame. I drop both logic and render stuff in the draw function of Canvas Hook. It is not recommended, but consider it is just a tiny project.
Choose Canvas Over SVG
Originally, I used SVG to render game objects, as it is the same declarative way as React style. But it turned out to be bad performance when there are many game objects needed to be re-render every frame. The frame rate dropped rapidly. So I move to Canvas, which is game app perferred. The drawback is that I had to adjust the imperative coding style with React. This is also why I use useRef Hook a lot.
Why not using Redux?
Originally, I used Redux to manage the states of the game objects, e.g. positions of drops. After I turned to use Canvas over SVG, and with the help of useRef, I found that I can manage the game states in the familiar way as I used to do when developing Unity games. I put the game states in objects, including the updating logic, and then use Ref Hook to keep them.
Tone.js
Why using Tone.js?
Previously I created a simple Piano App using Tone.js. Tone.js provides optimized features to interact with music. In this rythm game, Tone.Transport gives a hand. It enables to synchronize music and schedule events along the timeline, which is perfectly what I need.
The music synchronization:
const player = new Tone.Player(`${url}.mp3`).toDestination();
await Tone.loaded();
player.sync().start(NOTE_PREVIEW_TIME);        //the parameter is the start position of the music on the timeline.
With the MIDI JSON object, I scheduled the drop events on the Transport timeline.
for (const track of midi.tracks) {
  for (const note of track.notes) {
    if (!note.playInfo)
      continue;

    //preview
    Tone.Transport.schedule(time => {
      if (this.onNotePreview) {
        Tone.Draw.schedule(() => {
          this.onNotePreview(note.playInfo);
        }, time);
      }
    }, note.time);
  }
}
Why use Tone.Draw.schedule()?
According to the API doc:
Draw is useful for synchronizing visuals and audio events. Callbacks from Tone.Transport or any of the Tone.Event classes always happen before the scheduled time and are not synchronized to the animation frame so they are not good for triggering tightly synchronized visuals and sound. Draw makes it easy to schedule callbacks using the AudioContext time and uses requestAnimationFrame. Draw is used to synchronize the draw frame with the Transport's callbacks.
Parse MIDI
Tone.js also provides a friendly tool to convert MIDI into Tone.js-friendly JSON, thus I can read MIDI files and then manipulate the notes as useful input of our rythm game.
import { Midi } from '@tonejs/midi';

const midi = await Midi.fromUrl(url);
midi.header.timeSignatures.forEach(ts => ts.time = midi.header.ticksToSeconds(ts.ticks));
midi.header.keySignatures.forEach(ks => ks.time = midi.header.ticksToSeconds(ks.ticks));
midi.tracks.forEach((track, trackId) => {
  const lightIdOffset = trackId % 2 === 0 ? LIGHT_NUM / 2 : 0;
  track.notes.forEach(note => {
    let lightId = lightIdOffset + notes.find(n => n.midi === note.midi).lightId;
    note.playInfo = {
      lightId,
      trackId,
      playType: note.duration > CLICK_THRESHOLD ? PLAY_TYPE_PRESS : PLAY_TYPE_CLICK,
      duration: note.duration
    };
  });
});
Conclusion
This is a demo level of a rythm game created by React Hooks and Tone.js. A real rythm game needs more work, like editing rythm drops to optimize players' experience. Also inspired by this project, a digital piano that has preview drops can be made, just by changing the bottom circles into piano keys.
A limitation of this project is that we need to provide both the .mp3 and .mid files for one song. .mp3 for playing music, and .mid for scheduling drop events, as Tone.js can't play .mid. We can use mp3-mid converter to convert these two files mutually, but the result may not be synced.